Raised garden bed configurator
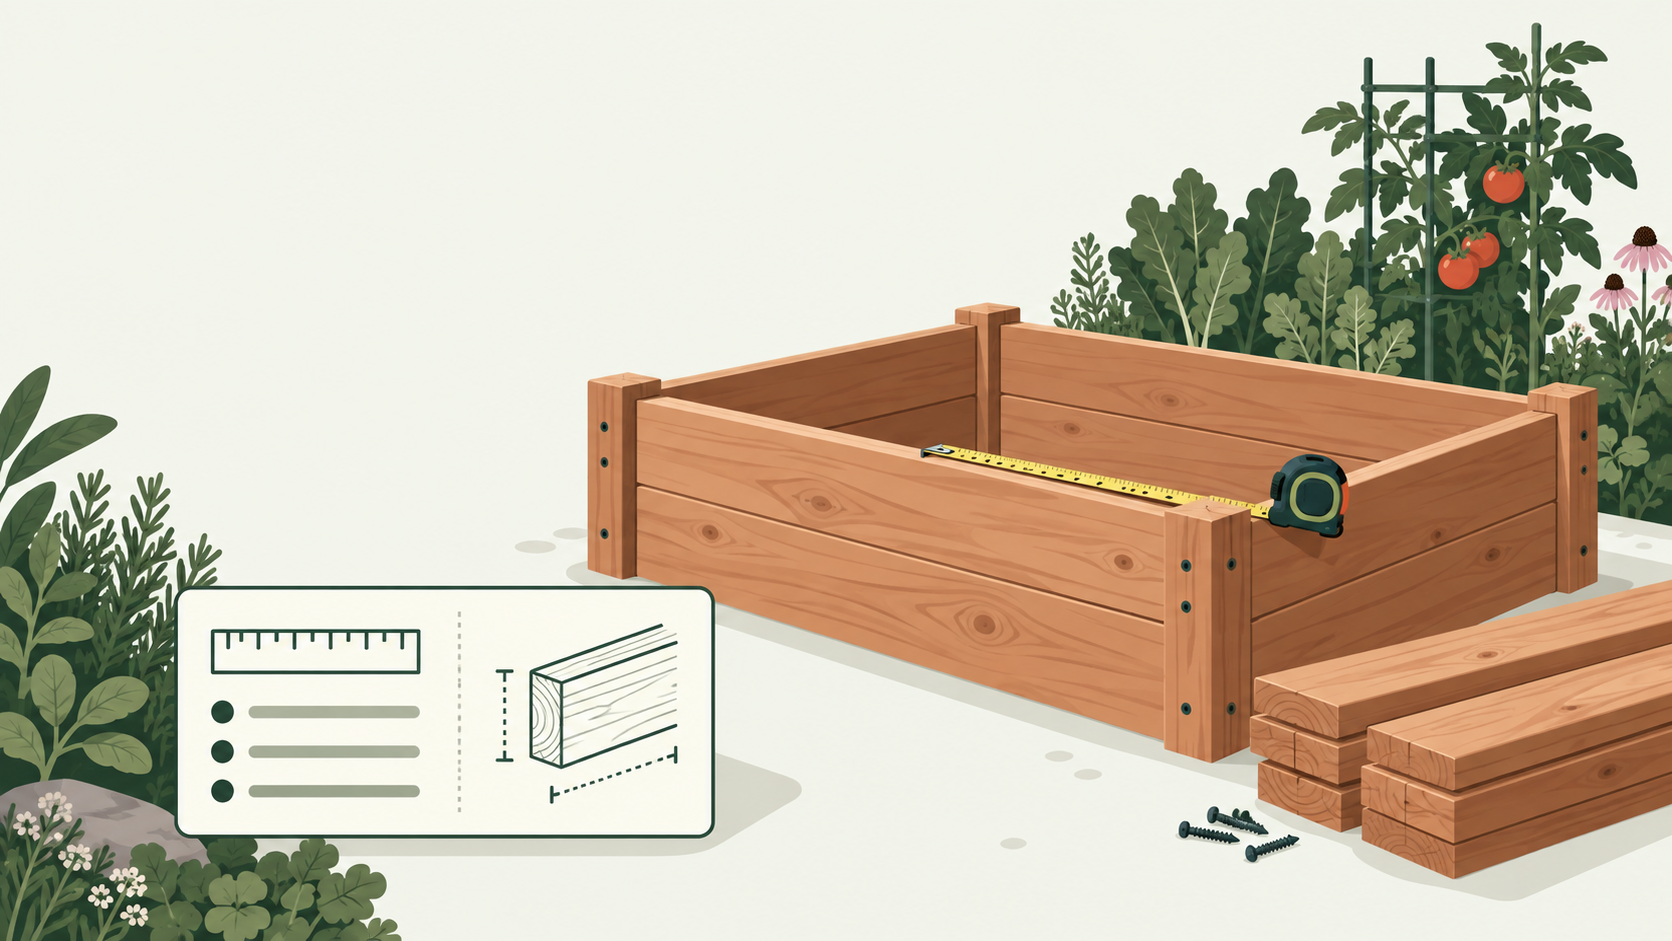
Enter the outside length, width, and height you want, pick a wood species, and this tool builds a complete cut list, tells you how many standard 8, 10, or 12 foot boards to buy, estimates the screws and corner brackets, and calculates the soil volume to fill it, in cubic feet and in bags. Nothing is sent anywhere and nothing reloads: change a number and the results update immediately.
All three dimensions are the outside faces of the finished bed, not the inside planting area. Height is built in board courses of 5.5 inches, so 11 inches is two 2x6 courses and anything between 5.5 and 44 inches is rounded to the nearest whole course.
Hardware and supplies
Items commonly used to build and protect a raised bed, sold on Amazon.
- Exterior wood screws (3 inch)
- Corner brackets
- Geotextile felt liner
- Mole and rodent mesh
- Linseed oil finish
As an Amazon Associate, this site earns from qualifying purchases made through these links, at no extra cost to you.
What the free 4x2 Starter Plan adds
If you want a ready-made plan rather than entering your own dimensions, the free 4x2 Starter Plan is a one page printable PDF with a dimensioned plan for the most common first bed size, its full cut list, and the six step build sequence, available after providing an email address.
What the Raised Bed Build Pack adds
For anyone building more than one bed or a specific shape the configurator above does not cover, the paid Raised Bed Build Pack goes further: six complete dimensioned plans, a 4x2, a 4x4, a full size 4x8 with a center brace, a narrow 2x8 for a fence line, a waist height bed on legs, and an L-shaped bed, each with a top view, an exploded view, a cut list, a standard board buying guide, hardware, an assembly sequence, and build variants such as a rodent-resistant mesh bottom, a liner, and hoop supports, plus a full chapter on choosing wood and its real lifespan in soil contact.
Hardware and supplies for this project
Once you know your cut list, here is the kind of hardware most raised bed builds call for. Links go to Amazon; as an Amazon Associate, Raised Bed Plans earns from qualifying purchases made through these links, at no extra cost to you.
- Exterior wood screws rated for outdoor or ground contact use.
- Corner brackets to reinforce each joint and keep the frame square while building.
- Geotextile felt to line the interior walls and slow wood and soil contact.
- Mole and rodent mesh to staple across an open bottom.
- Linseed oil for a traditional exterior wood finish on the outside faces, check the product label for its intended use.
These links point to categories of product, not a specific brand endorsement; pick the option that fits your project and budget.
Why actual board dimensions matter
A nominal 2x6 board measures 1.5 by 5.5 inches once it leaves the mill, not a full 2 by 6 inches. This configurator uses actual milled dimensions throughout, so the cut lengths, course counts, and board purchase numbers it returns match what you can actually build with lumber bought at a yard, rather than rounding to the nominal size and coming up short on height or overshooting the corner joints.
Guides for specific bed sizes and situations
If you already know roughly what you are building, the guides below go into more depth than the configurator alone: choosing a bed depth, comparing cedar and pine, sizing soil for a specific bed, building a bed on legs, keeping rodents out, laying out an L-shaped bed, planning a full 4x8 bed, and building a narrow bed for a fence line.
Measure the site before entering dimensions
Start with the ground, not the lumber. Mark the proposed outside corners with stakes, bricks, or scrap wood, then measure both diagonals. If the diagonals differ by more than 1 inch on a small bed, the layout is out of square and the finished frame will fight you during assembly.
Leave working space around the bed. A 24 inch path is a tight service path for one person. A 30 to 36 inch path is easier with a wheelbarrow, buckets, or a kneeling pad. If the bed is against a fence, keep the bed width near 24 inches so the back row can be reached without stepping into the soil.
Check level across the footprint with a straight board and a level. A difference of 1 inch can usually be handled by bedding the frame into the soil. A difference of 3 inches or more is better corrected before the bed is assembled, otherwise one corner may carry more load and the top edge will look twisted.
- Measure outside length and width at ground level, not from a drawing.
- Confirm that the longest side still fits the path, gate, and work area used to bring boards in.
- Decide the finished height before buying lumber, because course count controls board quantity.
- Plan soil delivery access before assembly if the bed needs more than about 20 cubic feet of fill.
Tools, tolerances, and build order
A basic build can be done with a tape measure, pencil, square, circular saw or miter saw, drill driver, drill bits, clamps, and a level. A countersink bit is useful because raised bed boards often split near the end when screws are driven without a pilot hole.
Use a practical tolerance instead of trying to cut every board to a cabinetmaker standard. For a garden bed frame, cut parts within 1/16 inch when possible, and within 1/8 inch at worst. A longer error matters more than a shorter error, because it can hold the corner open. If a cut is short by 1/8 inch, it is usually harmless once the corner is pulled tight.
Assemble on a flat surface if you can. Build the first rectangle, check diagonals, then add the next course. Clamp each corner before driving screws. If using brackets, install them after the frame is square, not before. Brackets lock the mistake in place if they are fitted while the frame is racked.
| Item to check | Useful figure | Why it matters |
|---|---|---|
| Reach from one side | 24 inches comfortable, 30 inches possible for many adults | Controls bed width when access is only from one side |
| Reach from both sides | 48 inches is a common upper limit | Keeps planting and weeding possible without standing in the bed |
| Path for foot traffic | 24 inches minimum | Allows basic access with a bucket or watering can |
| Path for wheelbarrow work | 30 to 36 inches | Reduces spilling soil and scraping bed corners |
| Pilot hole setback | At least 1 inch from board ends | Reduces end splitting during assembly |
| Diagonal difference before fastening hard | Less than 1/4 inch is good for many beds | Shows the frame is close to square before it is locked together |
Frequent mistakes and how to recover
If the frame is not square, do not add more screws. Loosen one corner, push the long diagonal inward, and pull the short diagonal outward. Measure again before tightening. A ratchet strap around the outside can help move a large frame a small amount without hammering the boards.
If a board splits at the end, stop driving the screw. Back it out, clamp the split closed if possible, drill a pilot hole through the outer board, and drive the screw again at a new angle or a new position. If the split runs several inches and opens under load, move that board to a less stressed location or replace it.
If the finished height is lower than expected, check whether the lumber height was assumed from nominal size. A nominal 2x board course is commonly 5.5 inches tall when using 2x6 stock. Two courses are about 11 inches, not 12 inches. The simplest recovery is to accept the lower bed or add another full course, rather than adding a narrow filler strip that holds moisture and weakens the top edge.
If soil volume is underestimated, fill in layers instead of dumping everything at once. Put bulky organic material only where planned, then add the growing mix in 4 to 6 inch lifts and water each lift. Fresh fill often settles 10 to 20 percent after watering and a few weeks of use, so leave room to top up later.
For more troubleshooting details that apply after assembly, see the raised bed FAQ.
Special cases that change the plan
Long beds need attention to side pressure. Once a side is about 8 feet long, wet soil can bow boards outward, especially with taller beds. A center brace, cross tie, or stake fixed to the side can reduce movement. Install this reinforcement before filling, because the pressure is much harder to correct after the bed is full.
Sloped ground needs a decision before cutting. For a small slope, you can set the frame level by cutting into the high side and packing the low side. For a larger slope, build a level terrace first or use stepped beds. Do not rely on loose soil piled outside the low side to hold the frame, because rain and irrigation will move it.
Open-bottom beds on lawns should have sod removed or smothered. If grass is left alive under shallow fill, it can grow through before the vegetables establish. For rodent pressure, mesh must be installed before the frame is filled, with edges turned up inside the lower boards and fastened securely.
Very narrow beds dry faster than wide beds. A 2 foot wide bed along a fence may need more frequent watering during hot weather because it has more exposed edge per cubic foot of soil. Very tall beds also need a filling plan, since filling the entire depth with premium growing mix is often unnecessary for crops with shallow roots.
If a dimension, fill depth, or material choice is uncertain, run the layout once, adjust the numbers, and compare the result before cutting. The FAQ covers common limits and terminology used on the calculator.